Author: WPInitiator

  • How to knit a thumb on a mitten

    How to knit a thumb on a mitten


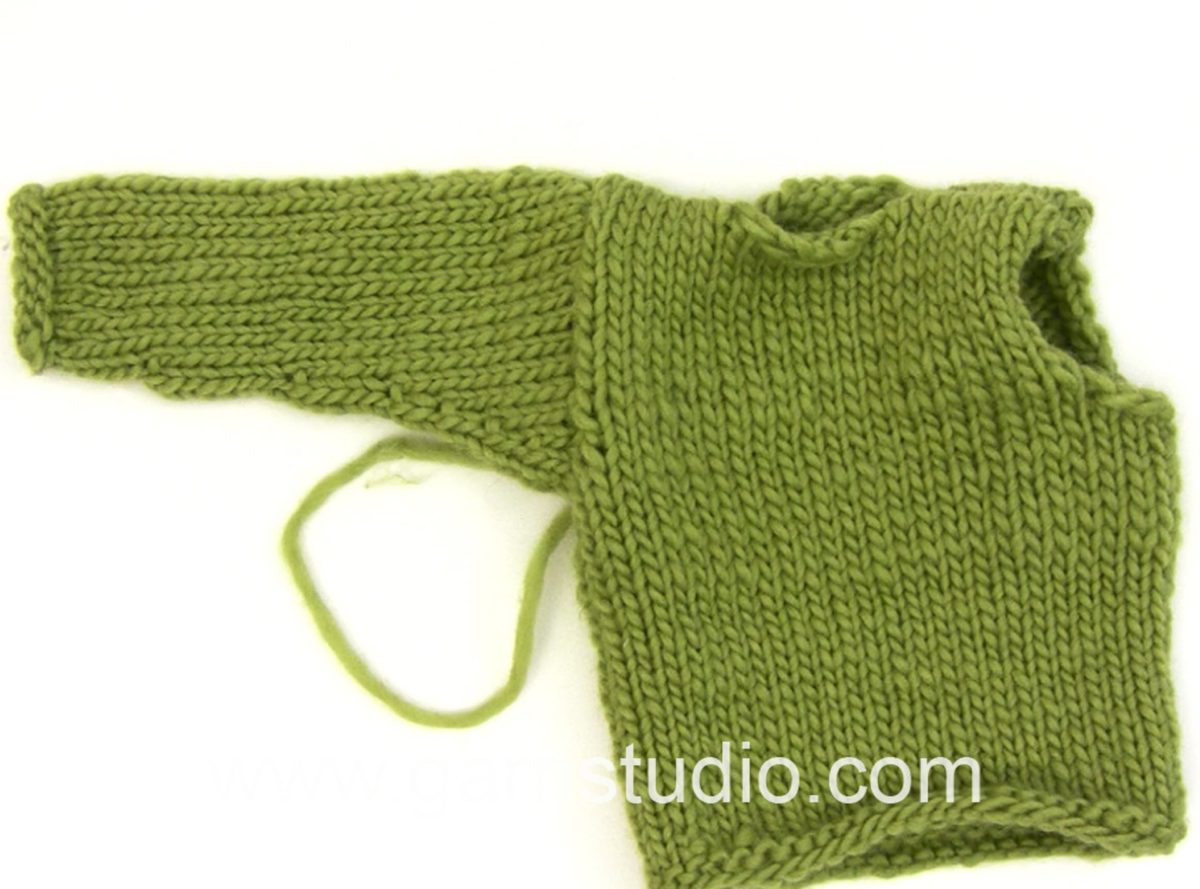
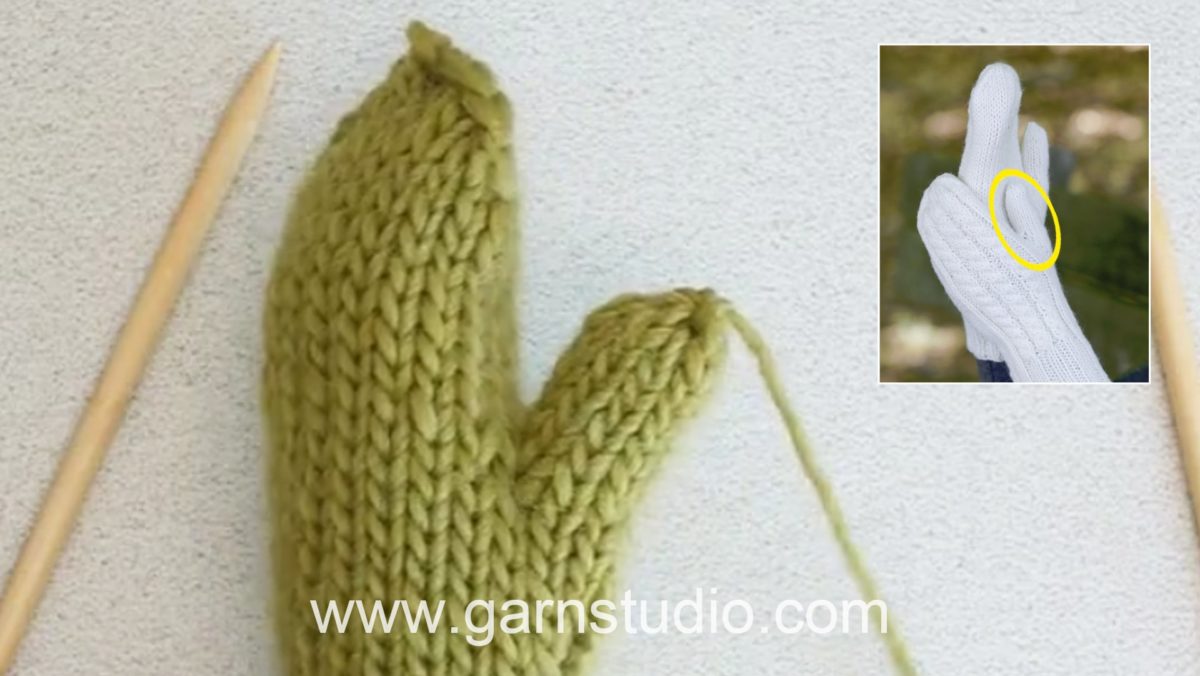
    In this DROPS video show how you can knit a thumb for a mitten.

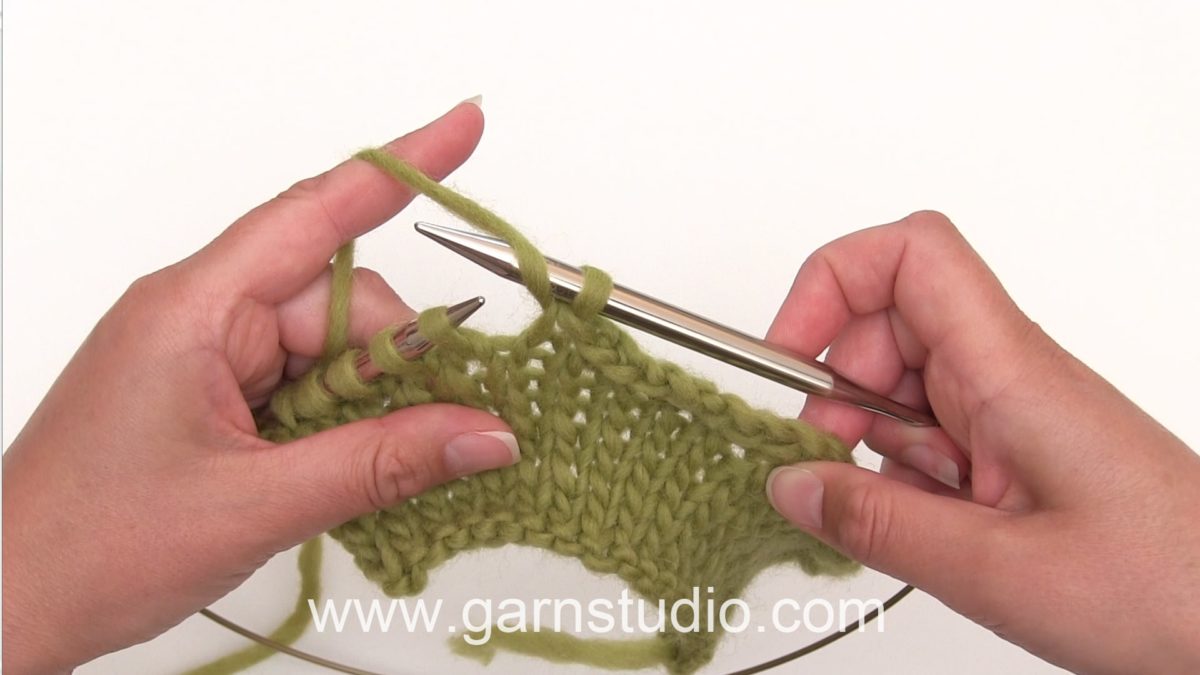
    First we show how to first increase for the thumb gusset by making 1 yo each side of a marked stitch, on next round work yo’s in back loop to avoid holes.
    On following round repeat inc and then work a couple of rounds in stockinette (or as indicated in the pattern).
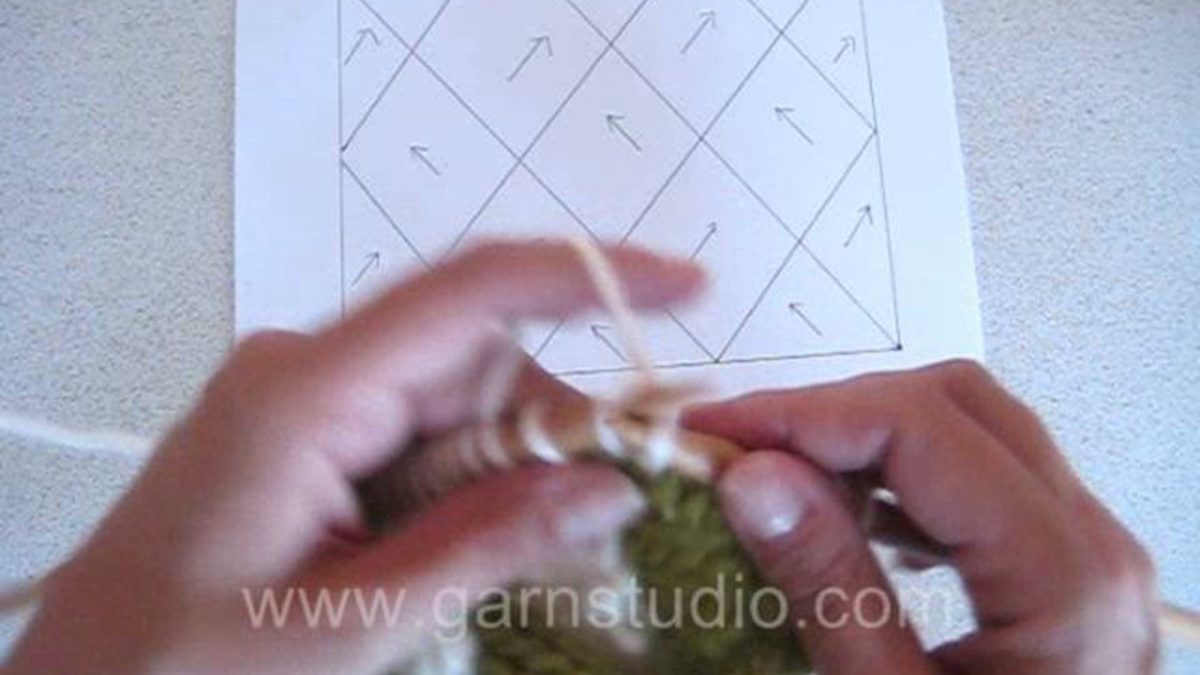
    When gusset is done put all inc sts on a cable needle or waste yarn, cast on a new stitch (or number of sts indicated in pattern) behind these sts and continue in the round.

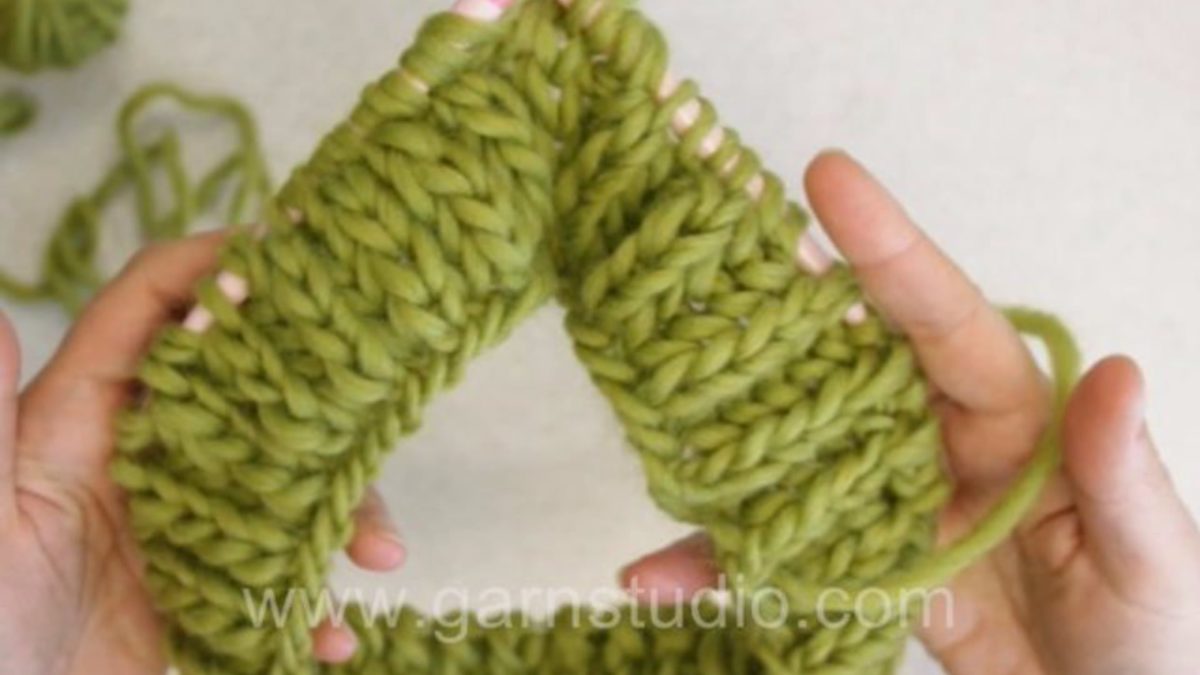
    When hand is done put back the thumb sts on a needle, pick up sts in the edge behind these and knit thumb in the round. At desired length K2 tog all the way round. Cut the thread and pull it through remaining sts, tighten and fasten.

    This video has NO SOUND – you must read the pattern to be able to follow this video properly. You’ll find a pattern using this technique by clicking here: http://www.garnstudio.com/pattern.php?id=7951&cid=9

    You can find this video in many more languages, as well as search within all DROPS knitting and crochet videos here: http://www.garnstudio.com/video.php?lang=en
    Find thousands of free knitting and crochet patterns here: www.garnstudio.com

  • How to bind off with yarn overs (yo)

    How to bind off with yarn overs (yo)


    In this DROPS video we show how you can bind off your work with yarn overs (yo)

    We do this to avoid the bind off edge being too tight, and you make a yo periodically at the same time you bind off. Bind off yo as sts.

    This video has NO SOUND – you must read the pattern to be able to follow this video properly. You’ll find a pattern using this technique by clicking here: http://www.garnstudio.com/pattern.php?id=7902&cid=19

    You can find this video in many more languages, as well as search within all DROPS knitting and crochet videos here: http://www.garnstudio.com/video.php?lang=en
    Find thousands of free knitting and crochet patterns here: www.garnstudio.com

  • How to knit entrelac on straight needles

    How to knit entrelac on straight needles


    In this DROPS video we show how to knit entrelac on straight needles. Entrelac is when you knit squares in multiple directions.

    First you make a row of triangles, then you pick up sts along the sides, work half squares at each side and full squares in the middle.

    If each square should be i.e 5 sts wide, then you cast on 5 sts for each triangle to start with. So for 3 triangles you cast on 15 sts.

    This video has NO SOUND – you must read the pattern to be able to follow this video properly. You’ll find a pattern using this technique by clicking here: http://www.garnstudio.com/pattern.php?id=4320&cid=19

    You can find this video in many more languages, as well as search within all DROPS knitting and crochet videos here: http://www.garnstudio.com/video.php?lang=en
    Find thousands of free knitting and crochet patterns here: www.garnstudio.com

  • How to set a sleeve in a stocking stitch jumper

    How to set a sleeve in a stocking stitch jumper


    In this DROPS video we show a way to sew a sleeve in a jumper made in stocking st. This jumper has no edge sts and we sew the pieces together from RS by sewing the last sts on the sleeve to the sts at the body.

    This video has NO SOUND – you must read the pattern to be able to follow this video properly. You’ll find a pattern using this technique by clicking here:
    http://www.garnstudio.com/lang/en/pattern.php?id=4786&lang=en DROPS catalog 126-31

    You can find this video in many more languages, as well as search within all DROPS knitting and crochet videos here: http://www.garnstudio.com/video.php?lang=en
    Find thousands of free knitting and crochet patterns here: www.garnstudio.com

  • How to knit English rib in the round

    How to knit English rib in the round


    In this DROPS video we show how to knit English rib in the round.

    Cast on an even number of sts on a circular needle
    ROUND 1: * 1 YO, slip 1 st as if to P, K 1 *, repeat from *-*.
    ROUND 2: * P tog YO and slipped st, 1 YO, slip 1 st as if to P *, repeat from *-*.
    ROUND 3: * 1 YO, slip 1 st as if to P, K tog YO and slipped st *, repeat from *-*.
    Repeat 2nd and 3rd round upwards.

    This video has NO SOUND – you must read the pattern to be able to follow this video properly. You’ll find a pattern using this technique by clicking here: http://www.garnstudio.com/pattern.php?id=7917&cid=19

    You can find this video in many more languages, as well as search within all DROPS knitting and crochet videos here: http://www.garnstudio.com/video.php?lang=en
    Find thousands of free knitting and crochet patterns here: www.garnstudio.com

  • How to crochet a single crochet (sc) US / double crochet (dc) UK in the round

    How to crochet a single crochet (sc) US / double crochet (dc) UK in the round


    In this DROPS video we show how crochet a single crochet (sc in US term) also known as a double crochet (dc in UK term) in the round.

    When you are crocheting sc’s/dc’s in the round you begin each round with 1 ch that replaces the first sc/dc on this next round.
    To mark the beginning it is a good idea to use a scrap yarn to mark the 1st stitch on the round.
    Finish each round with 1 sl st in the chain from beg of round. Make sure to not work the sc that the ch was made in! Keep moving the marking thread for each round.

    This video has NO SOUND – you must read the pattern to be able to follow this video properly. You’ll find a pattern using this technique by clicking here: http://www.garnstudio.com/pattern.php?id=7909&cid=19

    You can find this video in many more languages, as well as search within all DROPS knitting and crochet videos here: http://www.garnstudio.com/video.php?lang=en
    Find thousands of free knitting and crochet patterns here: www.garnstudio.com

  • REALITY EDITOR

    REALITY EDITOR


    The Reality Editor is a new kind of tool for empowering you to connect and manipulate the functionality of physical objects. Just point the camera of your smartphone at an object and its invisible capabilities will become visible for you to edit. Drag a virtual line from one object to another and create a new relationship between these objects. With this simplicity, you are able to master the entire scope of connected objects.

    The Reality Editor is a result of three years of MIT research. The goal of our research is the creation of technology that grants the user maximum control by leveraging human strength such as spatial coordination, muscle memory and tool-making. For example, that light switch in your bedroom you always need to stand up in order to turn off—just point the Reality Editor at an object next to your bed and draw a line to the light. You have just customized your home to serve your convenience. From now on you will use your spatial coordination and muscle memory to easily operate the object next to your bed as a tool for controlling the light. If you want a timer linked to the light, just borrow the functionality of an object with a timer, such as a TV, by drawing a line from it to the light. Another example is the interior of a car – sometimes it may be too warm in the summer or too cold in the winter when the engine is started. Just point the Reality Editor at your bed and then connect it to the temperature system in your car – when you wake up, the car sets the correct temperature for you to drive to work.

    What works for your home works as well with objects in your office – kids’ toys, and even complex machinery in a factory. In our research, we’ve identified simple universal rules common to all physical objects (Mind Memory; Learn, Setup and Operate; How to connect everything). The Reality Editor is build on these rules to place an intuitive yet powerful technology into your hands. We also have build the Reality Editor with the most open, resistant and knowledgeable standards. Every visual interface is based on html5 and therefore leverages the full creative power of the web. This means that the Reality Editor transforms the identical web browsing technologies used for presenting you this article into an interface for the physical space. In addition, connection between objects uses the most open and stable internet standards.

    Use the Reality Editor to define simple actions, change the functionality of objects around you, remix how things work and interact. Make something that is virtual into something that is physical and the physical more virtual. Through its simplicity, the Reality Editor allows you to merge two separate realities into one truly interwoven experience.

    This all sounds like science fiction, but it’s not. We’ve made some of our research publicly available. You can download the Reality Editor in the iOS App Store and use our open source platform called Open Hybrid to build a new generation of Hybrid Objects. This vision is not only for the DIY designer and engineers, but is also fully feasible for the next generation of high-tech users.

  • STUFF PICK

    STUFF PICK


    The era we are living could be easily described as the “being hipster” one. Considering how Wes Anderson’s movies, indie music and vintage (sometimes non-sense) ingredients became emblematic for this generation, the explanation of the phenomenon is not so hard to reach: what used to be part of a niche culture peacefully invaded every environment insomuch as skinny jeans, lumberjacks shirts and huge beards are now pop elements similarly to long hair and Chelsea boots during the Beatlemania.
    This is where the paper-thin boundary line breaks and trends and subcultures meet.
    Ground’s Oranges reinterprets – in a intentionally lo-fi/homemade way – the Hipster universe magnifying its virtues and vices but also taking its styles and thematics to an extreme level, getting them close to something similar to a parody that, actually, is just pure and sincere celebration.

    Director: Zavvo Nicolosi
    DoP: Jacopo Saccà
    #1AC: Corrado Lorenzo Vasquez
    Song: “FOGAR” by Riccardo Nicolosi
    Cast: Marco Riscica, Alessandra Tavella, Giulia Piccione, Ben Gnomino, Ricardo Morais, @THERABBITPROJECT

    Produced by Ground’s Oranges
    www.groundsoranges.it

    Uncut song:
    https://soundcloud.com/user-766554263/fogar/

  • How to crochet a granny square back and forth

    How to crochet a granny square back and forth


    In this DROPS video we show how to crochet a granny square back and forth.

    Ch 6 and then form a ring with 1 sl st in first ch.

    US-English
    ROUND 1: ch 3, 2 dc in ring, * ch 3, 3 dc *, repeat from *-* a total of 3 times and finish with ch 3 and 1 sl st in 3rd ch from beg of round. Turn piece.
    ROUND 2: ch 3, 2 dc in first ch-loop, ch 3, 3 dc in the same ch-loop (= first corner), * ch 1, 3 dc in the next ch-loop, ch 3, 3 dc in the same ch-loop *, repeat from *-* a total of 3 times, finish with ch 1 and 1 sl st in 3rd ch from beg of round. Turn piece.
    Continue in rounds with two groups of 3 dc’s with ch 3 in each corner, and along sides 3 dc in every ch 1 with ch 1 between each group.

    UK-English
    ROUND 1: ch 3, 2 tr in ring, * ch 3, 3 tr *, repeat from *-* a total of 3 times and finish with ch 3 and 1 sl st in 3rd ch from beg of round. Turn piece.
    ROUND 2: ch 3, 2 tr in first ch-loop, ch 3, 3 tr in the same ch-loop (= first corner), * ch 1, 3 tr in the next ch-loop, ch 3, 3 tr in the same ch-loop *, repeat from *-* a total of 3 times, finish with ch 1 and 1 sl st in 3rd ch from beg of round. Turn piece.
    Continue in rounds with two groups of 3 tr’s with ch 3 in each corner, and along sides 3 tr in every ch 1 with ch 1 between each group.

    This video has NO SOUND – you must read the pattern to be able to follow this video properly. You’ll find a pattern using this technique by clicking here: http://www.garnstudio.com/pattern.php?id=7160&cid=19

    You can find this video in many more languages, as well as search within all DROPS knitting and crochet videos here: http://www.garnstudio.com/video.php?lang=en
    Find thousands of free knitting and crochet patterns here: www.garnstudio.com